
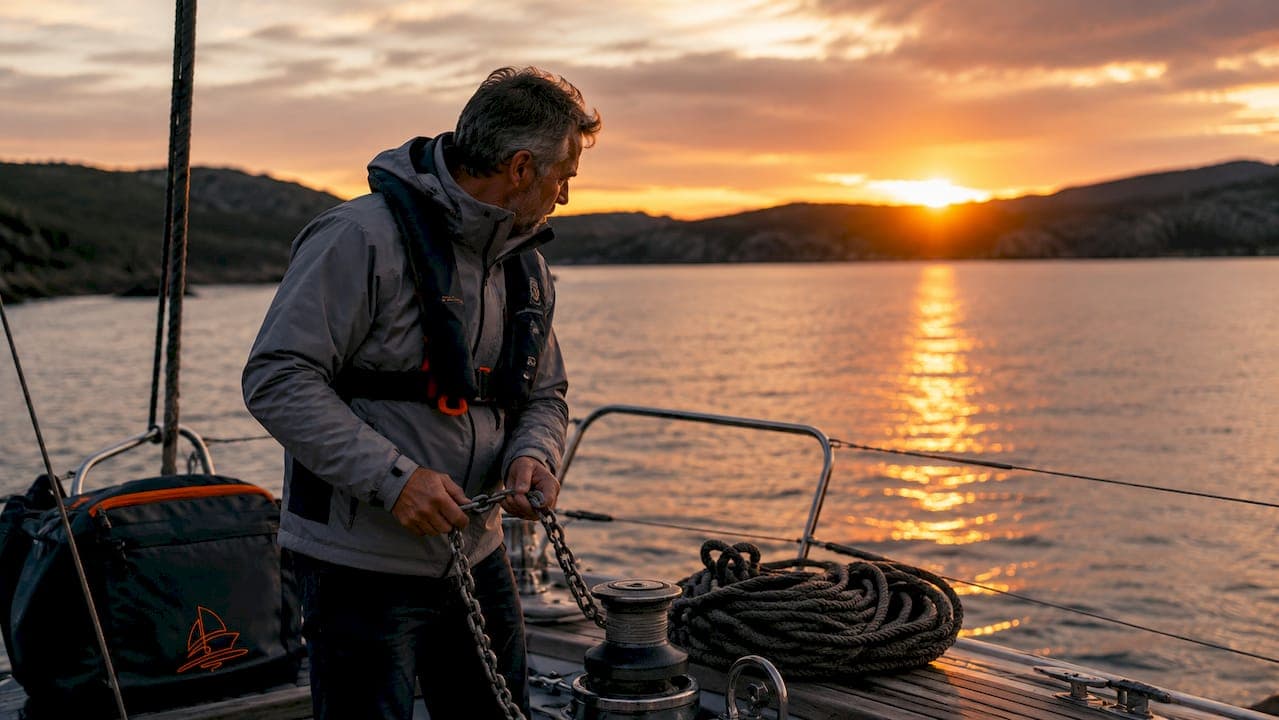
Anchoring a sailboat is defined as the process of deploying a weighted device to the seabed to hold your vessel in a fixed position without drifting. Done correctly, it gives you safe overnight stops, calm lunch breaks in a cove, and peace of mind in changing weather. Done poorly, it puts your boat on a reef by midnight. The difference between those two outcomes comes down to three things: correct scope, accurate seabed reading, and proper setting technique. This guide covers all three, with step-by-step procedures and real-world troubleshooting built for sailboat owners and novice sailors alike.
What gear and conditions do you need for anchoring a sailboat?
The right equipment makes every anchoring situation more predictable. The wrong gear, or the right gear used incorrectly, leads to dragging regardless of how expensive your anchor is.
Anchor types and seabed matching
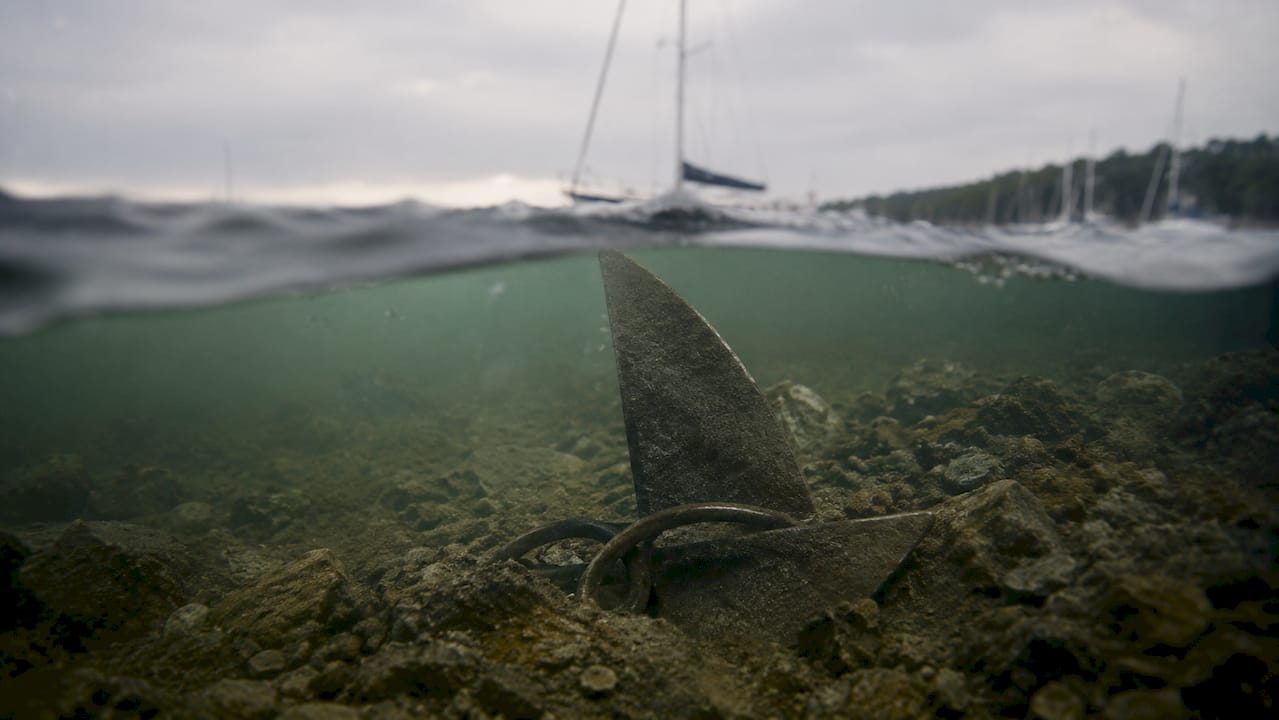
Different anchor designs perform best on different seabeds. Plow-style anchors (like the CQR pattern) dig well into sand and mud. Fluke anchors hold strongly in soft mud but struggle in rock or weed. Claw anchors reset easily after wind shifts, making them a solid all-around choice for cruisers who move between anchorages. Matching anchor type to seabed type is the first decision you make before dropping anything overboard.
Scope ratios: the most important number in anchoring
Scope ratios are the ratio of rode length to water depth, and they control how much holding power your anchor generates. The industry standard calls for 5-to-1 in calm conditions, 7-to-1 when wind exceeds 25 knots, and 10-to-1 beyond 35 knots. That progression matters because halving scope from 7-to-1 to 3.5-to-1 drops holding power by about two-thirds. More scope lowers the pull angle at the anchor shank, which is what keeps the anchor buried rather than lifting it out.
Pro Tip: If your rode is a chain-and-rope combination rather than all chain, pay out more scope than you would for all chain. Rope floats and raises the pull angle, which reduces holding power at any given ratio.
| Condition | Recommended scope | Notes |
|---|---|---|
| Calm, no wind | 5-to-1 | Minimum for any overnight stay |
| Moderate wind (15–25 knots) | 7-to-1 | Standard cruising anchorage |
| Strong wind (above 35 knots) | 10-to-1 | Add snubber to protect windlass |
Essential gear beyond the anchor
A snubber is a short length of nylon line attached to the chain and cleated to the bow. It absorbs shock loads that would otherwise hammer your windlass and deck fittings. An anchor alarm, either a dedicated GPS device or a phone app, alerts you if the boat moves outside a set radius. Both items are inexpensive relative to the damage a dragging anchor can cause.
How do you anchor a sailboat step by step?
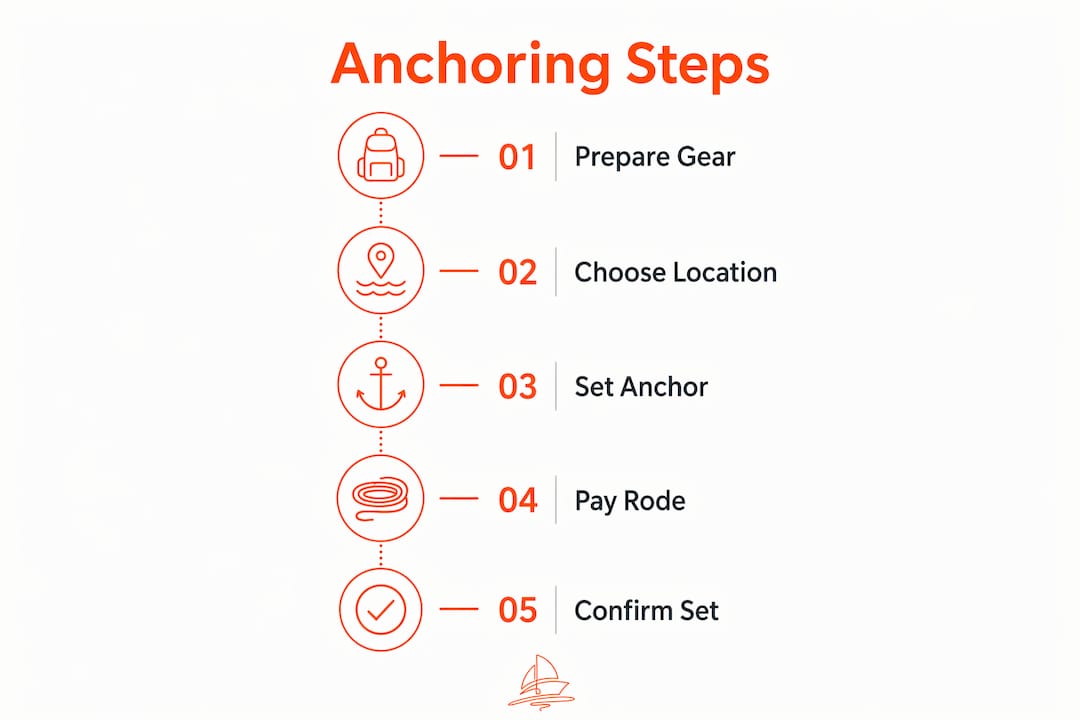
A reliable anchoring procedure follows a fixed sequence. Skipping steps, especially the setting phase, is the single most common cause of dragging.
-
Choose your spot and check the chart. Identify water depth, seabed type, and swing room before you enter the anchorage. Mark any underwater hazards on your chart plotter.
-
Approach head to wind at low speed. Motor or sail slowly into the wind so the boat stops naturally over your chosen drop point. A slow approach gives you control and prevents the anchor from landing on top of the chain.
-
Drop the anchor from the bow. Lower the anchor hand over hand or with the windlass until it touches bottom. Never throw it. Throwing tangles the chain and prevents a clean set.
-
Pay out scope gradually while drifting back. Let the wind or a brief burst of reverse push the boat back while you pay out chain. Pay out roughly half your target scope first, pause, then pay out the rest. This lays the chain flat along the seabed rather than piling it in a heap.
-
Back down at 70% cruise RPM for 30–60 seconds. Backing down at 70% engine power embeds the anchor flukes into the seabed. Insufficient power here is the leading cause of dragging even when the anchor hardware is perfectly good.
-
Confirm the set using a fixed shore reference. Pick two fixed objects on shore, a building and a tree, for example, and watch whether they stay aligned. Using nearby boats as reference is unreliable because they may also be moving. If your references stay aligned for several minutes under engine load, the anchor is set.
-
Set your anchor alarm. Configure the alarm radius to match your swing circle, then step away from the bow with confidence.
Pro Tip: Stay at the bow for at least five minutes after confirming the set. Spending time observing your position and surroundings reduces anxiety and catches problems before they develop.
The entire sequence from approach to confirmed set takes roughly 15–20 minutes when done properly. Rushing it costs you sleep.
What are the most common anchoring problems and how do you fix them?
Most anchoring failures share the same root causes. Recognizing them early lets you correct the situation before conditions worsen.
Reading your chain to detect dragging
A chain that alternately tightens and slackens in a rhythmic pattern indicates a well-set anchor responding to wave action. A chain that stays constantly tight, vibrates, or makes a grinding sound against the seabed usually means the anchor is dragging. You can feel this difference by placing your hand on the chain near the bow roller. This is one of the most reliable on-board checks available, and it costs nothing.
When to reset rather than add scope
Adding more chain when you are already dragging rarely solves the problem. Pulling up and repositioning about 50 feet away before re-anchoring is the correct fix. The reason is simple: if the seabed at your current position failed to hold, more chain just drags across the same bad ground. A fresh spot gives the anchor a clean bite.
Anchoring failure is almost never caused by poor hardware. The real culprits are wrong scope, unidentified seabed type, and skipping the backing-down step. Fix the technique before blaming the anchor.
Other problems to watch for
- Poor seabed choice. Eelgrass, loose weed, and smooth rock all provide poor holding. Sand and firm mud are the best surfaces. Check your chart for seabed symbols before you drop.
- Insufficient swing clearance. Your boat swings in a full circle around the anchor point. That circle must clear other boats, shallows, and any fixed objects. Calculate swing radius as your scope length plus your boat's length.
- Ignoring weather changes. Wind shifts can push you toward shore or into another vessel. Check the forecast before anchoring and identify a backup anchorage before you need it.
- Skipping the snubber. Without a snubber, every wave shock transfers directly to the windlass. Over time, this damages the gypsy and the deck fitting. Fit the snubber every time, not just in rough weather.
How do you choose the right anchorage location?
Choosing where to anchor matters as much as how you anchor. A perfect technique in a bad location still ends badly.
Reading nautical charts for anchorage selection
Nautical charts show seabed composition using standard symbols: S for sand, M for mud, R for rock, and Wd for weed. Sand and mud are your targets. Charts also mark no-anchor zones, which typically protect underwater cables and pipelines. Anchoring over a submarine cable is both dangerous and illegal in most jurisdictions.
Selecting a spot leeward of the coast with good shelter from wind and waves is the primary criterion for a safe anchorage. A headland or bay that blocks the prevailing wind gives you a stable, comfortable night. Open roadsteads with no natural protection expose you to swell even when wind is light.
Depth, keel clearance, and swing room
Ideal anchoring depth for most yachts is between 3 and 5 meters, with at least 1 meter of clearance under the keel at low tide. Anchoring too shallow risks grounding as the tide drops. Anchoring too deep forces you to pay out excessive scope, which increases your swing circle and crowds neighboring boats.
| Factor | What to check | Why it matters |
|---|---|---|
| Seabed type | Chart symbols (S, M, R, Wd) | Determines holding quality |
| Water depth | 3–5 meters for most yachts | Prevents grounding at low tide |
| Wind shelter | Leeward of headland or bay | Reduces swell and wind load |
| Swing room | Scope length plus boat length | Prevents collision with neighbors |
| Hazards | Cables, pipelines, rocks | Safety and legal compliance |
- Check the coastal contour for natural wind breaks before committing to a spot.
- Verify that no anchor zone markings appear on the chart for your chosen area.
- Plan an alternative anchorage in case your first choice is too crowded or conditions change overnight.
- Monitor the weather forecast for wind shifts that could expose a previously sheltered spot.
For a deeper look at safe anchoring practices and how anchor type affects your choice of location, the Sailorix blog covers the topic in practical detail.
Key Takeaways
Proper anchoring depends on correct scope, accurate seabed identification, and a disciplined setting procedure, not on expensive hardware alone.
| Point | Details |
|---|---|
| Scope drives holding power | Use 5-to-1 in calm, 7-to-1 above 25 knots, and 10-to-1 above 35 knots. |
| Back down to set the anchor | Apply 70% cruise RPM for 30–60 seconds to embed the anchor properly. |
| Read the chain for dragging | A rhythmic tighten-and-slack pattern means a good set; constant tension means dragging. |
| Reset, do not just add scope | If dragging occurs, reposition 50 feet away and re-anchor on fresh ground. |
| Choose the location carefully | Anchor in 3–5 meters of water, leeward of shelter, on sand or firm mud. |
What anchoring has taught me about patience and process
At Sailorix, we have watched sailors arrive at anchorages with top-of-the-line gear and drag within an hour. We have also watched sailors with modest equipment sleep soundly all night. The difference is almost always patience during the setting phase.
The instinct when you are tired after a long passage is to drop the hook, pay out some chain, and go below. That instinct is wrong. The five minutes you spend backing down properly and watching your shore references are the most valuable five minutes of the entire anchoring process. Repeated practice in moderate conditions builds the muscle memory that makes those five minutes automatic, even when you are exhausted or the anchorage is crowded.
Crew communication matters just as much as technique. The person at the bow needs to signal chain length and tension clearly to the helm. Shouting over wind noise fails. Agree on hand signals before you enter the anchorage, not during the drop. A calm, coordinated crew sets anchors better than a stressed, experienced solo sailor every time.
The psychological payoff of a well-set anchor is real. Knowing your boat will be in the same spot when you wake up changes the quality of your rest entirely. That confidence does not come from buying a better anchor. It comes from confirming the set and trusting the fundamentals you practiced.
— Sailorix
Sailorix: your resource for better sailing
Anchoring well is a skill that improves with every trip. Sailorix supports sailors at every stage of that process, from first-time charterers figuring out their first overnight stop to experienced cruisers refining technique for challenging anchorages.

Through the Sailorix platform, you get access to a global fleet of yachts and sailboats at transparent prices, with only a ~1% service fee on bookings through an annual membership of €100. That means more budget for the trips where you practice these skills. The Sailorix blog also publishes practical guides, including a full step-by-step anchoring guide covering scope, technique, and real-world scenarios for recreational sailors.
FAQ
What is the correct scope ratio for anchoring a sailboat?
The standard scope ratio is 5-to-1 in calm conditions, 7-to-1 when wind exceeds 25 knots, and 10-to-1 above 35 knots. Reducing scope significantly cuts holding power because it raises the pull angle at the anchor shank.
How do I know if my anchor is dragging?
Place your hand on the chain near the bow roller. A rhythmic tighten-and-slack pattern means the anchor is holding. A constantly tight or vibrating chain usually indicates dragging.
What should I do if my anchor drags?
Pull up the anchor, move at least 50 feet from your original position, and re-anchor on fresh ground. Adding more scope over the same spot rarely fixes the problem because the seabed there has already failed to hold.
What is the best seabed for anchoring a sailboat?
Sand and firm mud offer the best holding for most anchor types. Avoid eelgrass, loose weed, and smooth rock, as these surfaces provide poor grip regardless of anchor design or scope.
How deep should I anchor my sailboat?
Most yachts anchor best in 3–5 meters of water, maintaining at least 1 meter of clearance under the keel at low tide. Anchoring too shallow risks grounding as the tide falls.