
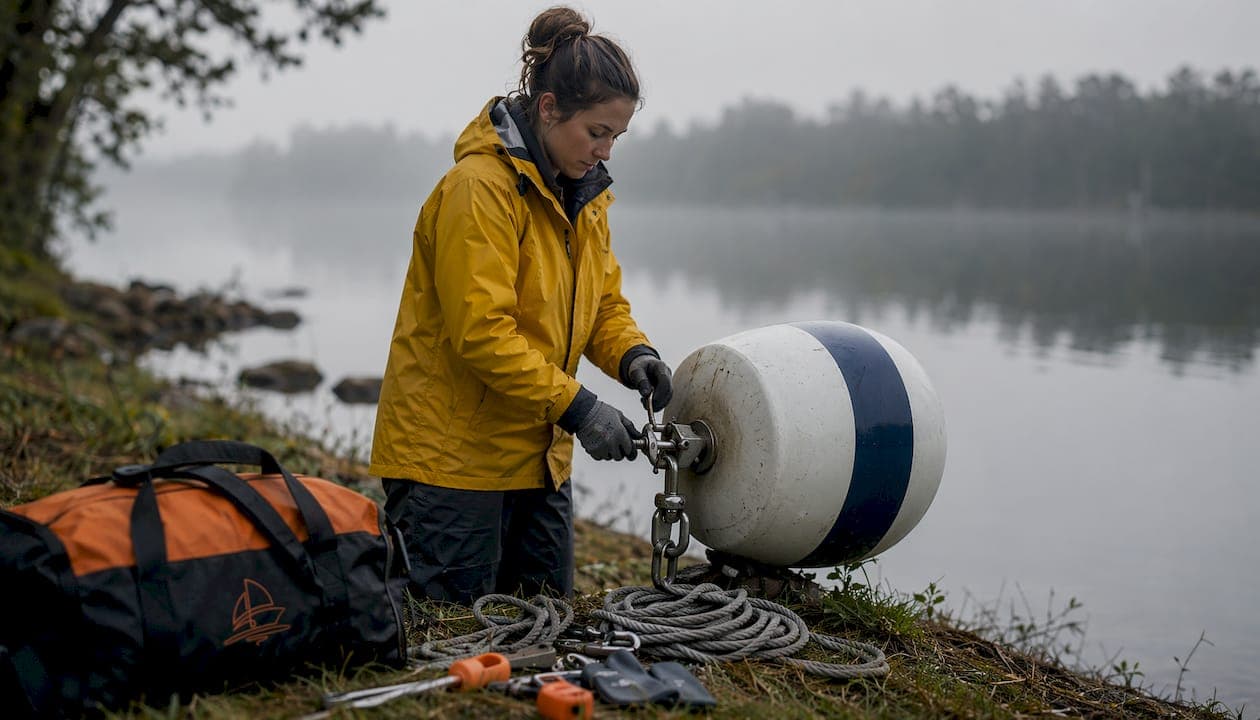
A permanent mooring buoy set up is a structured system of anchored chains, a floating buoy, and a pendant line that keeps your vessel secured in one spot without dropping anchor every time. Get the components right and the system works reliably for years, unattended, through storms and tidal swings. Get them wrong and the failure usually starts somewhere you can't see.
Here's what a standard permanent mooring system includes:
- Heavy ground chain: Lies on the seabed, connected to the anchor. Length should be 1.5 times the maximum water depth at spring high tide.
- Riser chain: Lighter chain running from the ground chain up to the buoy, equal in length to the maximum water depth.
- Mooring buoy: Must provide roughly twice the flotation of the suspended chain's weight to stay visible above the waterline.
- Pendant line: Braided nylon or double-braid polyester connecting the buoy to your boat's bow cleats, with chafe protection at every contact point.
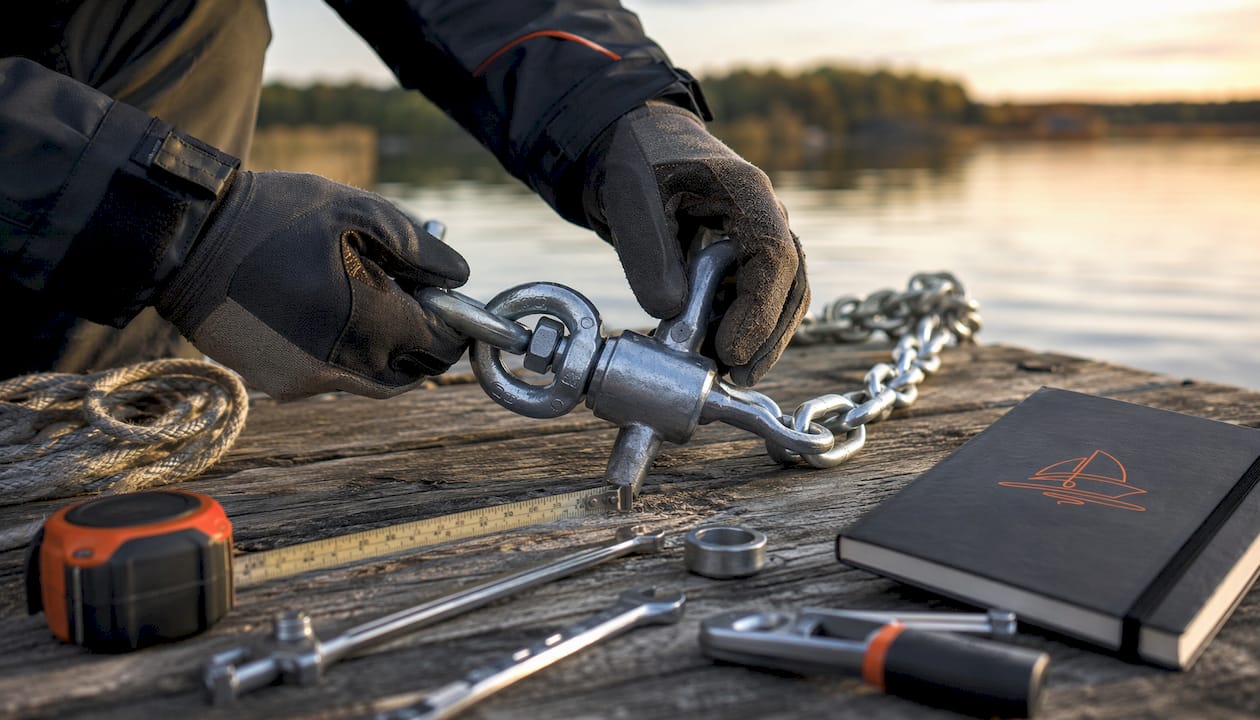
- Swivel: Placed between the ground chain and riser chain to prevent torsion as the boat rotates with wind and tide.
USCG standards require mooring buoys to be white with a blue horizontal stripe. Local harbor authority approval is required before installation in most U.S. waters.
What components make up a permanent mooring system?
Every part of a mooring system carries load, and every connection point is a potential failure. Choosing the right components for your specific depth, seabed, and vessel size is where the real engineering happens.
Anchor types and seabed matching
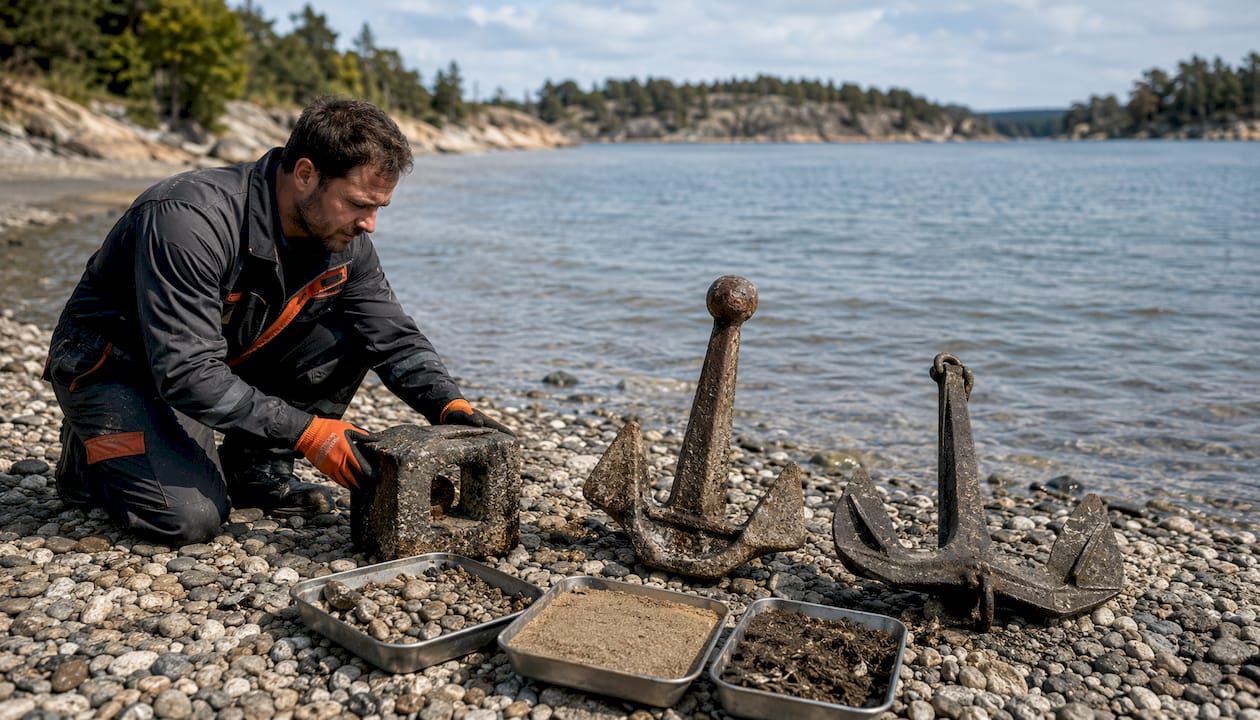
Anchor selection depends entirely on what's underneath you. Mushroom anchors work well in soft mud and sand because they sink in and create suction over time. Concrete deadweight blocks are practical in mixed or gravel bottoms and are easy to inspect and replace. Rock or hard pan requires drilled and grouted stainless steel eye bolts. Using the wrong anchor for your bottom type is the fastest way to lose a mooring in a storm.
Chain sizing and pendant line materials
| Component | Specification | Key consideration |
|---|---|---|
| Ground chain | 1.5× max water depth at spring high tide | Heavy galvanized; wears fastest at seabed contact |
| Riser chain | Equal to max water depth | Lighter gauge; connect via swivel to prevent twist |
| Swivel | Rated to system working load | Prevents chain torsion and fatigue failure |
| Mooring buoy | ~2× flotation vs. suspended chain weight | Hard plastic shell with closed-cell foam fill |
| Pendant line | Largest diameter fitting bow chocks | Braided nylon for shock absorption; double-braid polyester for strength |
| Shackles | Galvanized, moused with stainless wire | Never use zip ties to secure pins |
Pendant lines should connect to the chain using an eye splice around a galvanized thimble, secured with a heavy-duty galvanized shackle. Add chafe-protection sleeving anywhere the line passes through a chock or over a rail. For boats with two sound bow cleats, a bridle spreads the load across both sides and tracks better than a single pendant.
Pro Tip: Size your pendant to the largest diameter that still fits cleanly through your bow chocks. A thicker line absorbs more shock and lasts longer between replacements.
The buoy itself needs a hard plastic shell filled with closed-cell foam. That foam construction means the buoy retains buoyancy even if the shell cracks. Stopper rings cut from old tires, placed as washers around shackles, protect the buoy core from being crushed or pulled through by hardware under load.
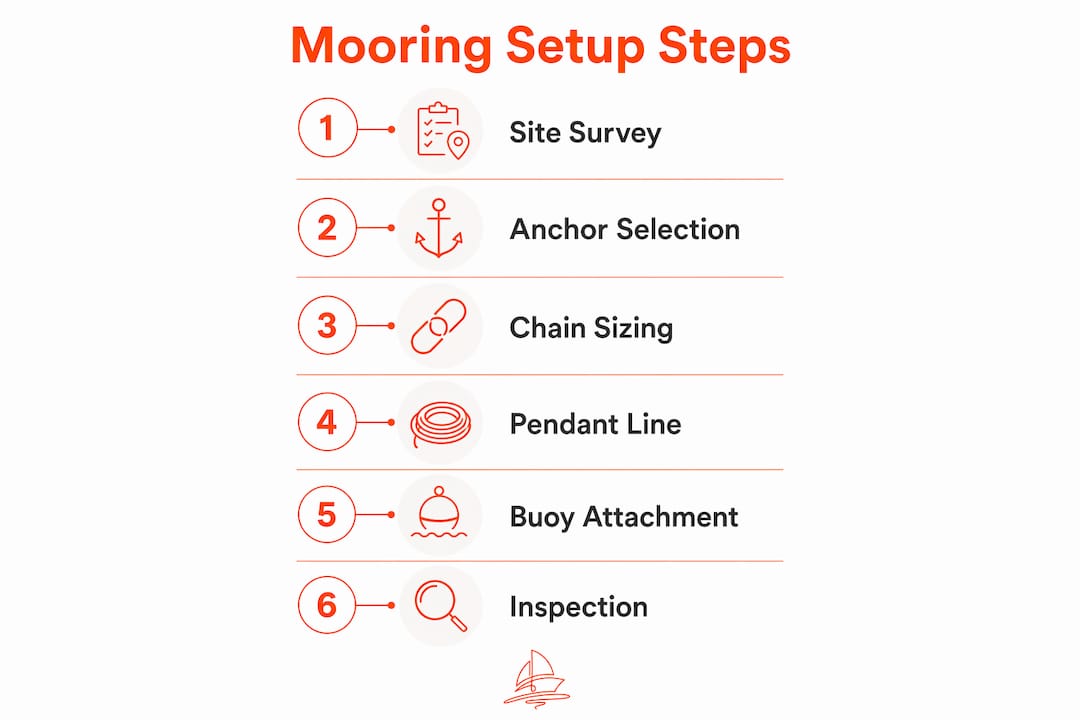
How to set up a mooring buoy: step-by-step installation
Installation day is where planning meets the weight of real gear. Heavy chain, concrete blocks, and shackles are awkward and dangerous when handled without a clear sequence. For anything beyond a small private setup, use a workboat with lifting capability.
-
Obtain permits and survey the site. Contact your local harbormaster, state agency, or the U.S. Army Corps of Engineers. Most jurisdictions require a mooring license specifying GPS position, anchor type, and buoy marking. Measure maximum depth at mean low water, not average depth, and record seabed type.
-
Lay out all components on deck in deployment order. Start with the anchor, then ground chain, swivel, riser chain, buoy, and pendant. Staging everything in sequence before any of it goes over the side prevents dangerous tangles when heavy gear is hanging over the rail.
-
Prepare the anchor assembly. Shackle the ground chain to the anchor's eye bolt using galvanized shackles rated to at least 1.5 times the chain's working load limit. Mouse every shackle pin with stainless steel wire. Never use plastic zip ties on load-bearing connections.
-
Lower the anchor under control. Use a crane, davit, or A-frame. Lower slowly to the pre-marked GPS position. Feed the ground chain out so it lies flat on the seabed in a straight line toward the buoy position. Do not let it pile on top of the anchor.
-
Connect the riser chain to the buoy via swivel. Attach the upper end of the riser chain to the buoy's bottom swivel fitting. The swivel prevents torsion as the boat rotates with tide and wind shifts. Omit it and the chain stores twist with every swing, losing break strength progressively.
-
Deploy the buoy and monitor through a full tidal cycle. Lower the buoy over the deployment position. At high tide, confirm it rides with positive freeboard and the riser chain is not bar-taut. At low tide, the chain should hang in a gentle catenary curve. Excessive slack means the riser is too long and may foul the anchor.
-
Attach the pendant line and pick-up buoy. Secure the nylon pendant to the buoy's top ring using a thimble-and-splice termination. Attach a small pick-up buoy to the free end so the line floats on the surface for easy retrieval. A pendant length of roughly 1.5 times your boat's length balances stability against fouling risk.
-
Load-test the system. Pull on the mooring from a boat and watch how the buoy and top tackle respond. The buoy should stay well above the waterline. If it dips low under load, the buoy's flotation is undersized for the suspended hardware.
-
Record GPS coordinates and notify the harbormaster. File the confirmed position for chart correction if required. Confirm buoy color and any topmarks comply with USCG and local requirements before leaving the site.
Regulations, approvals, and best practices for mooring installations
Skipping the permit step is the most common and most expensive mistake in mooring installation. Unauthorized moorings get removed, and the owner pays for it.
Local regulations typically require specific anchor types, accurate GPS position recording, and USCG-standard buoy markings. Federal oversight often involves the U.S. Army Corps of Engineers for navigable waters, while state agencies like the Department of Fish and Wildlife or Department of Natural Resources handle environmental review. Your harbormaster is usually the first call and can tell you which agencies apply to your specific location.
Key compliance requirements to address before installation:
- USCG buoy markings: White body with a blue horizontal stripe, visible above the waterline at all tidal states.
- Environmental review: Avoid eelgrass beds, coral habitat, and navigation channels. Some states require a seabed survey before approval.
- Permit documentation: Most authorities require the GPS position, anchor type, vessel name, and a sketch of the mooring layout.
- Labeling: Buoys typically must display the owner's name, vessel name, or permit number as specified by the controlling authority.
- Inspection and renewal: Permits usually require annual or biennial renewal, with the mooring pulled for full inspection.
For state-specific registration and marking requirements, Missouri boating regulations and Oregon boating regulations both outline what's required for vessels operating in those waters.
The American Boat and Yacht Council (ABYC) publishes design load recommendations for permanent moorings, which many harbormasters reference when reviewing permit applications.
Common mistakes and expert tips for a reliable mooring buoy
Most mooring failures trace back to a small number of recurring errors, and nearly all of them are preventable.
Swivel placement is the most consequential decision in the whole system. A swivel placed incorrectly, or omitted entirely, allows chain torsion to build with every rotation of the boat. Chain under torsion loses break strength progressively. In high-tidal environments, this failure mode can develop within a few years.
- Never attach your boat to the buoy's top loop or handle. The boat must connect to the pendant line below the buoy, which runs down to the anchor chain. The top loop is for handling and retrieval only.
- Mouse every shackle pin with 2mm stainless steel wire after tightening. Vibration and cyclic loading will back out an unmoused pin.
- Use stopper rings cut from old tires as washers where shackles pass through the buoy. Without them, the shackle can crush or pull through the buoy core under load.
- Inspect the pendant first at every maintenance visit. The pendant sees full sun, constant motion, and abrasion at the chocks. It's typically the first component to fail.
- Pull the entire system annually for a full inspection. Lay it out on deck and check every link, shackle, and swivel for wear, rust, and electrolysis damage.
Pro Tip: Treat your mooring as a permanently loaded structure, not a convenience item. Size every component for the worst conditions your location can produce, not the average day. A mooring that holds through a summer afternoon is not the same as one that holds through a nor'easter.
For more on swinging mooring systems and how single-point moorings behave under different conditions, that context helps when planning swing radius and pendant length. Choosing the right marine rope materials for your pendant also affects how long the system goes between replacements.
Key Takeaways
A permanent mooring buoy system requires a heavy ground chain, a riser chain connected via swivel, a buoy with twice the flotation of the suspended hardware, and a shock-absorbing pendant line, all installed with proper permits and USCG-compliant markings.
| Point | Details |
|---|---|
| Ground chain sizing | Set ground chain length at 1.5 times the maximum water depth at spring high tide. |
| Buoy flotation requirement | The buoy must provide roughly twice the flotation of the suspended chain's weight to stay visible. |
| Swivel placement | A swivel between the ground chain and riser chain prevents torsion and chain fatigue over time. |
| Regulatory compliance | USCG requires white buoys with a blue horizontal stripe; local permits must be obtained before installation. |
| Pendant inspection | The pendant is typically the first failure point; inspect for chafe and UV damage at every visit. |